Showing posts with label decorating. Show all posts

Saturday, January 14, 2012

Orange Girl's Bedroom Reveal!

This room had a tall order:

1. It must be orange
2. It must have Nemo
3. It must grow into a teenager's room (the little lady is not into her tweens yet!)
4. It must have space for a desk for homework time
5. It must be very soft to touch
6. No overt girliness
7. No ruffles
8. Open windows (i.e. no drapes or curtains, just wooden slat blinds)
9. Pandas and polar bears should feel comfortable alongside the Nemo collection
10. Bamboo (for the pandas, of course!)
11. Storage
12. More storage


Wow!  Well, we started with the orange base, and I felt like a black and white print would be a good choice to encompass the animal side of things.  A zebra print on the pillow and throw blanket (which can double as a cozy rug) took care of that!  A bright orange furry pillow at the back of the bed is perfect for reading.


Plain black bedding became the base and a selection of fun pillows brought in everything else, plus a good supply of fuzzy friends brought in for a cuddle.  The photo collage frames on the wall above the bed show some of her favourite things, with some frames repeating the zebra print.

The first thing we utilized in the way of storage was this memo board, made from white cotton canvas and black grosgrain ribbon with white stitches on the each side.  The tiny glass beads even tie into the room.  Click on the photo to enlarge it and you will see what we hid in the glass beads!  {Tutorial on the memo board coming soon.}


My friend's dad refinished her childhood bedroom furniture in black and it has lots of shelving which was a bonus!  All those Nemos and other friends needed a place to live, after all.  We hung some zebra prints here also.


There was just enough space here for something.  Some new shelves were built, and a desk added into this tiny nook for a homework centre.  Furry friends have a good view of the bed and windows. 


And last but not least, a tiny corner for one of her bamboo plants and her bow holder that I made a couple of years ago.  I love how it still fits her and her personality!


This room will be easy to transition into a teen room as {some} of the animals are replaced with older girl things.  The orange, black, and white will still be fresh and, best of all, it will continue to grow with her.

She loves it, and I am so happy we were able to give her a room that is perfectly her!


Linking up with some great  parties!

Monday, January 9, 2012

Bling Light Switch Cover

I have been procrastinating on this girly toddler room for quite a while.  Apparently so long that she really cannot be called a toddler anymore.  So little girl room it is.  I finally have got some things going on in here, this being my absolute most favourite of late!!!  (I think it warrants extra exclamation marks!  Ha!)

Supplies:

Light switch cover
E-6000 (or other craft glue)
bling! (I used several sizes of clear rhinestones)


Directions:

Glue rhinestones onto light switch cover.  Start with the large and medium sizes around the interior of the switch plate and work your way to the edges.  Use the super tiny size rhinestones to fill in any blank spaces. 


Once finished, I waited 24 hours before hanging to ensure the glue was solid and no rhinestones were falling off.  This is going in the Chanel-inspired girly girl room.  I can't wait to tackle more!


Linking up with some great  parties!

Saturday, December 10, 2011

I Don't Have a Mantle to Decorate

Today is the final day of Creating Christmas!  It has been so fun to hook up with The Girl Creative - thanks, Diana!

 Creating Christmas at The Girl Creative


In our old house, we had a lovely wood-burning fireplace.  I loved to roast marshmallows, curl up with a good book, and just watch the fire.  Plus it was super cosy!  And I loved the fact that I had a mantle to decorate at Christmas.  


I love checking out all the beautifully decorated Christmas mantles on blogs and Pinterest, but...  I have no mantle to decorate! I make up for it by decorating the tops of bookcases, dressers, china cabinets, etc. 


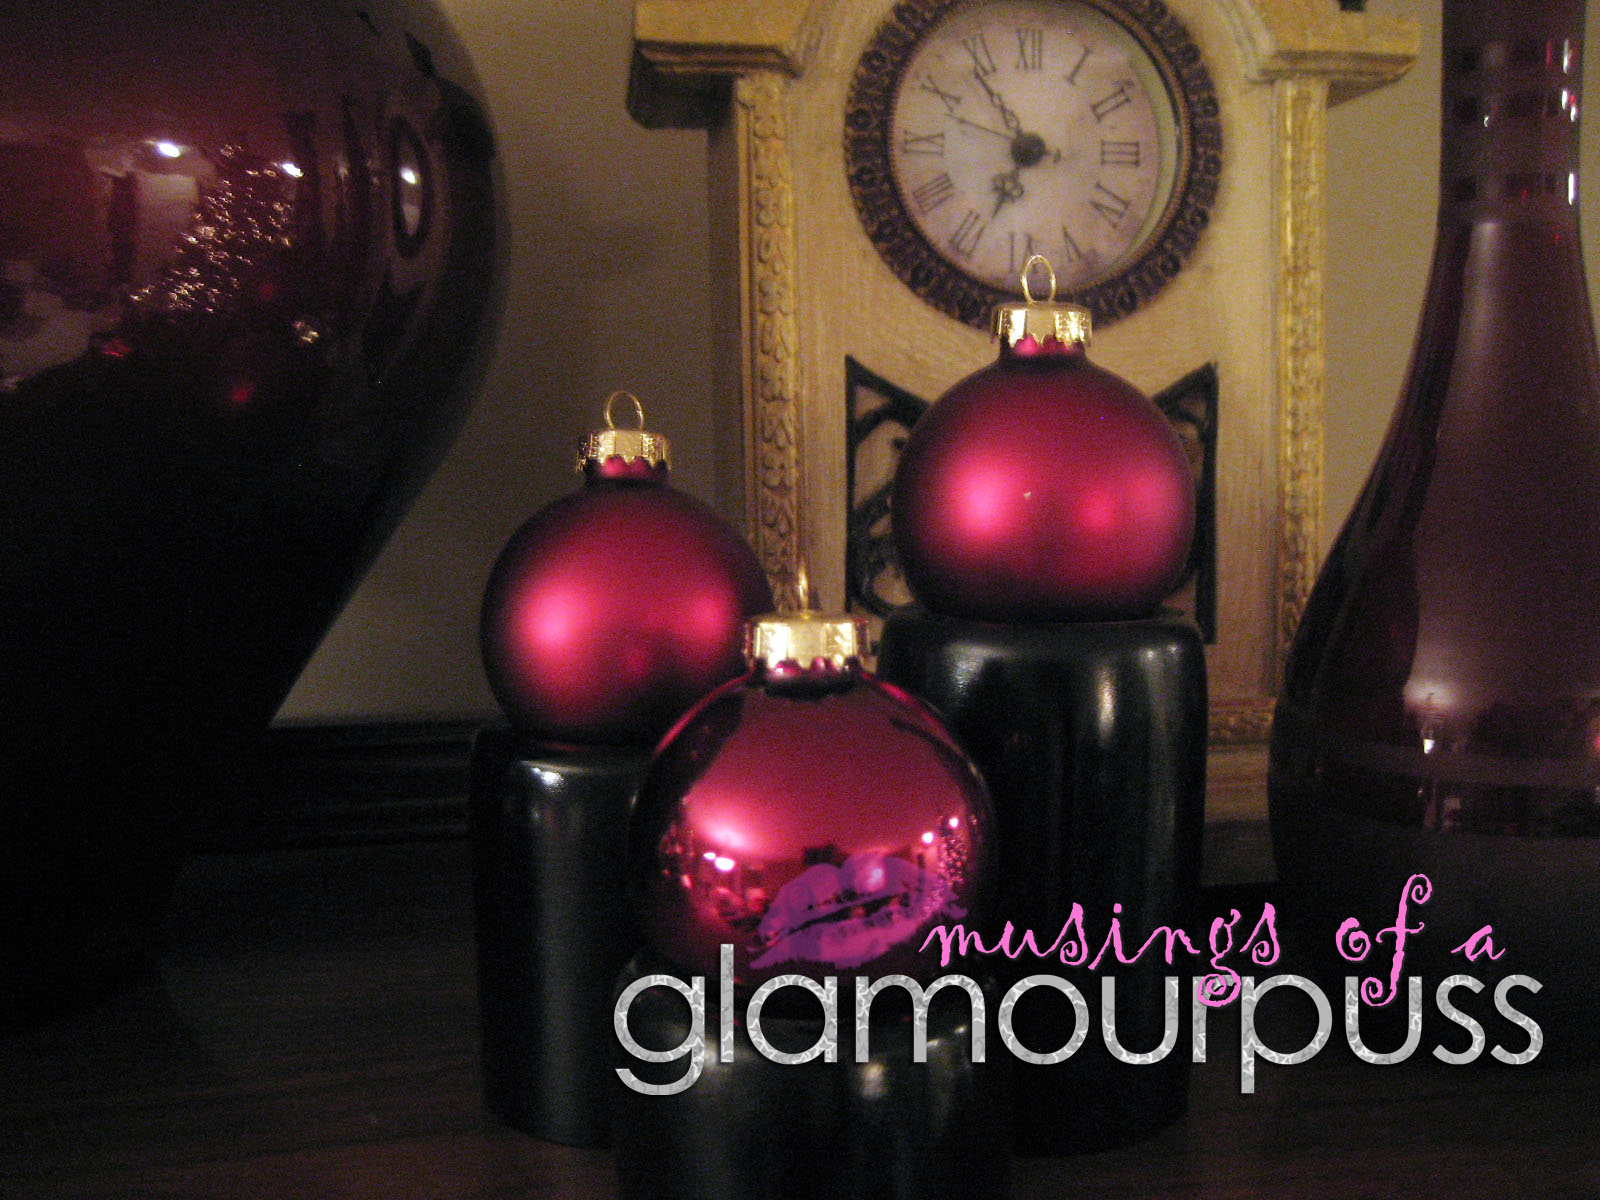
I simply swap out some of the everyday decor with Christmas balls and ornaments.  This is my grandmother's china cabinet that she gave us a few years ago.  The tall candlesticks, both red vases, clock, and black tealight holders are there year round, along with some other things I have removed until January rolls around again. 


I added a clear vase full of ornaments, a 3D silver star, and red Christmas balls on top of the black tealight holders.  I also added sheer burgundy ribbon around the tall candlesticks and a bottlebrush wreath to the cabinet door.  Now it is festive!


To this dresser, I added a bowl of Christmas balls with a few picks and a glittery ornament.  Even a couple hints of Christmas will add so much!


CREATING_CHRISTMAS_BANNER_jpg  
As we wrap up Creating Christmas week I hope that you have all been inspired to stop pinning and start creating! I’m excited to see what everyone has been working on. This Christmas Linky Party is no ordinary party. This is a blog hop. And what that means is that there are 18 FABULOUS bloggers that are hosting this party at their very own blog. Whether you add your project link here or at any of the other 17 co-hosts blogs, it will show up on one huge party list! Awesome! 

If you haven’t already, please take the time out to visit the other co-hosts and go through their Creating Christmas posts. There is some really neat projects! The Girl Creative, Que Linda Crafts, The Cottage Market, Love Lindsey, Domestic Mischief, Chicken Scratch, Love Sweet Love, Randee’s Organized Chaos, Musings of a Glamour Puss, Anastacia Knits, Southern Scraps, Modern Yet Old Fashioned, Broken Treasures, Alyssabeth’s, Domestic Deadline, Life on Walnut Street, 52 Mantels, The Glamorous Life

The Rules are SiMpLe:
  • Add a link to a project that YOU have created!
  • Visit the 2 links ahead of you and check out what they’ve got going on. Leave some comment love. Tis the season for giving after all. {wink wink}
  • HAVE FUN AND BE INSPIRED!!

Friday, December 9, 2011

Michael's Knock Off Chenille Chain Garland

Welcome to Day 6 of Creating Christmas!

 Creating Christmas at The Girl Creative
 
I was at Michael's the other day checking out all the Christmas fabulousness, and saw these:


Chenille Chain Garlands!  These are made exactly like the paper chains you made probably every single year when you were little.  Except these were basically made with pipe cleaners!

All you need is a pair of scissors and your pipe cleaners, and you are good to go!


Cut into desired length.  I cut mine in thirds.


Make a loop and twist the ends around each other.  


Thread a new piece of pipe cleaner through your loop, and loop again.  Repeat.


So cute for a kid's tree!  I think it would be awesome in metallic colours like copper and gold!


Linking up with some great parties!


Tuesday, December 6, 2011

DIY Gem Ornaments

Hooray!  It's Day 3 of Creating Christmas!  I am so glad to be a co-host with several other lovely ladies and The Girl Creative!


 Creating Christmas at The Girl Creative


Without further ado, here is today's Christmas craftiness!

I had some leftover gems from this project, so I thought some coordinating ornaments would be cute.  My daughter's tree is pink, pink, and more pink with silver.  Her ornaments are sequined and the lights are globe-shaped.  Some of the gems are teardrop shaped and her garland is silver cubes, so we are really rocking the geometric shapes here!  Ha!


Simply put an ornament hook through the gem hole (resize the hook to fit) and hang it on the tree! 


So easy and cute.  I think this would be really precious done on a tree with only beads and pearls.


Linking up with some great parties!

Monday, December 5, 2011

Old Christmas Decor in New Ways

It is Day 2 of Creating Christmas!

 Creating Christmas at The Girl Creative


This Christmas I am aiming to reuse the decorations that I have in ways I have never used them (or at least, not recently).  Here are some samples of things I made today...
A tealight holder became an modern-style ornament display for a windowsill.


When I decorate for Christmas, I sometimes reuse currently displayed vases or jars which means I have to store everything that is normally in the container.  I had dumped out a vase of red glass stones to be used for Christmas balls instead.  I was planning to store the glass stones until January but hey, they're red and it's Christmas!  I tried them in a couple of places, didn't like them, and into a jar they went. 


I pulled out my sleigh (that was filled with silver bead garland from the year before) and emptied it out.  I thought about filling it with some wrapped stocking stuffers, but I did that a couple of years ago.  So I left the sleigh and went back to the beads.

I thought the beads and glass stones might look cute so I grabbed an empty vase and started stringing the beads in.  I added a couple of stones every once in while. A sparkly red glitter Christmas ball went on top.  It's cute!  I am not sure where it is going to go yet, but I think it's a keeper!  Just something a little different.


Then the sleigh came back out and I saw some beaded stars that my daughter had unwrapped right next to the beaded fruits.  In went one apple, one pear, one cluster of grapes, and two stars.  I had one star left so it got hung on the side of the sleigh.


I placed the sleigh on a half wall and wanted a little something extra with it so I found some metallic XL tulle (leftovers from here) and some bits of raffia for a base.  Three gold mini balls in matte, shiny, and glitter were the finishing touch.  I think this is my most favourite way I have ever used the sleigh!


Linking up with some great parties!

Wednesday, November 30, 2011

DIY Floral Arrangement

Supplies:
Bowl/vase
Floral foam

Filler (flowers, sticks, etc.)
Something to cover the foam


Directions:
Step 1:  Fill your vessel with floral foam.  I just grabbed this bowl from the kitchen because (1) it was white, (2) modern lines, and (3) it was there!


Step 2:  Start inserting the main pieces.  I trimmed branches from one of my bushes outside last year and spray painted them white after they thoroughly dried out.


Step 3:  Once the main filler is all in, add in the special pieces.  I used two peacock feathers that I trimmed down to size.


These are cute glitter-covered gold branches that I cut apart into little sprays and added in all over.  They went in last as they were the shortest.


Step 4:  Cover up the floral foam with something cute!  Marbles, moss, fruit, pebbles... the possibilities are endless!


Here is the finished product!  (Yes, more decor for the bathroom!  I have to put something in there while the plans are coming into place!!)


Linking up with some great parties!

Tuesday, October 11, 2011

Autumn Napkin Wrap

Easy autumn napkin wrap with supplies you probably already have on hand!  I already had everything, so this was a free craft for me!

SUPPLIES
napkins
hot glue
craft paper
raffia
feathers

Step 1: Fold napkin into desired size.  I used a regular sized linen napkin and folded in half, half again, and half again.


Step 2: Cut brown craft paper into a rectangle.  Turn napkin over so edges are on the top. 

Step 3: Hot glue the craft paper together to make a wrap.

Step 4: Turn over again so seam from paper is underneath.  Glue raffia onto paper.

Step 5: Glue a sweet lil feather onto the middle of the raffia.  These were pheasant feathers, I believe.
Linking up with some great parties!

Sunday, March 27, 2011

Figuring Out the Bed Situation

AKA The Nursery to Big Girl Room Transformation

While I am busy collecting images, dreaming of gathered silk and endless strands of pearls, and wishing I had about $10K to do this bedroom (hello, vintage Chanel necklaces framed in shadowboxes would be more than lovely!!), I have one little thing in the back of my head... a bed.  We are going to need a bed.  Since our sweet little girl is potty-training (YAY!), she will need to be able to get in and out of bed.  Taking a flying leap over the crib side rails is not an option here. Haha :)

Her room is the smallest bedroom in the house at about 10' x 11' which rules out anything larger than a standard twin.  (I was in a double bed by age 3 and a queen bed at 12, so I am not used to smaller beds.  Here's to hoping she doesn't fall out!!  Fingers crossed!)  I suppose if there were no other furniture in the room, a larger bed might work, but we want some statement furniture pieces as well.

Here are my top two ideas (and yes, they are at opposite ends of the design spectrum) and my pro/con list for each.  (Slight Rory Gilmore reference there, lol!)

IDEA ONE
Okay, so I love the idea of a trundle bed.  And I love the look of daybeds too.  I found this super gorgeous one at Posh Tots, my favourite eye candy mini-me site. 

pic from Posh Tots

Pros:
Light pink/gold option
Trundle Daybed
Only one side to fall out
Love the intricate detail and vintage flair
Looks expensive
Would go with existing paint job, which is NOT CHANGING!!!
Fit for a princess

Cons:
$8,200 price tag
Too many roses (they remind me of the Princess Bride)
Not enough glam (Swarovski rhinestones are extra!)
Too shabby-chic for me
Fit for a princess, but maybe not a Chanel princess

Here is a similar option at $5,700.  
I think I may like it a bit more than the one above, 
but I am not quite decided on that.


IDEA TWO

Again, how much do I love Posh Tots?  My second idea is a more modern take, with padded upholstery, nail head details, and luxe suede found here (ignore the fact that it is blue!):
 
pic from Posh Tots 


Here is a close up in black faux leather (again, ignore the black):

pic from Posh Tots

Pros: 
Sleek and modern
Could be pushed against a wall or left out
Double as a modern chaise/couch in the future
Nail heads!!!!
Upholstered, so no tears over bumped heads
Did I mention nail heads!!!!
Image this in a classic black/white boucle tweed!

Cons:
No trundle (although adding one would be okay)
Maybe too boyish?
Can we inject enough glam into it?
$3,120-$3,365 (faux leather - suede, respectively)
Girly-girl factor is lacking


So lots of things to think about...  I should mention that I am not trying to recreate a whole "31 Rue Cambon" style.  Gild, lions, etc., is not what I am going for.  I am aiming to pull together a very cohesive look using blush, ivory, white, black, and soft golds (with possibly some silver/steel thrown in as well), and of course, utilizing the logo.

Cross your fingers for me!  I am working on an idea board for this room, and hope to finish it this week.  :)


Related Posts Plugin for WordPress, Blogger...